goImage:一个白嫖telegram的轻量级图床
项目已开源,https://github.com/nodeseeker/goImage,目前仍处于测试阶段,可能存在未知问题,欢迎提交 Issue。## goImage 图床
基于 Go 语言开发的图片托管服务,使用 Telegram 作为存储后端。
### 功能特性
- 无限容量,上传图片到 Telegram 频道
- 轻量级要求,内存占用小于 10MB
- 支持管理员登录,查看记录和删除图片
### 页面展示
首页支持点击或拖拽上传图片。

上传进度展示和后台处理显示。

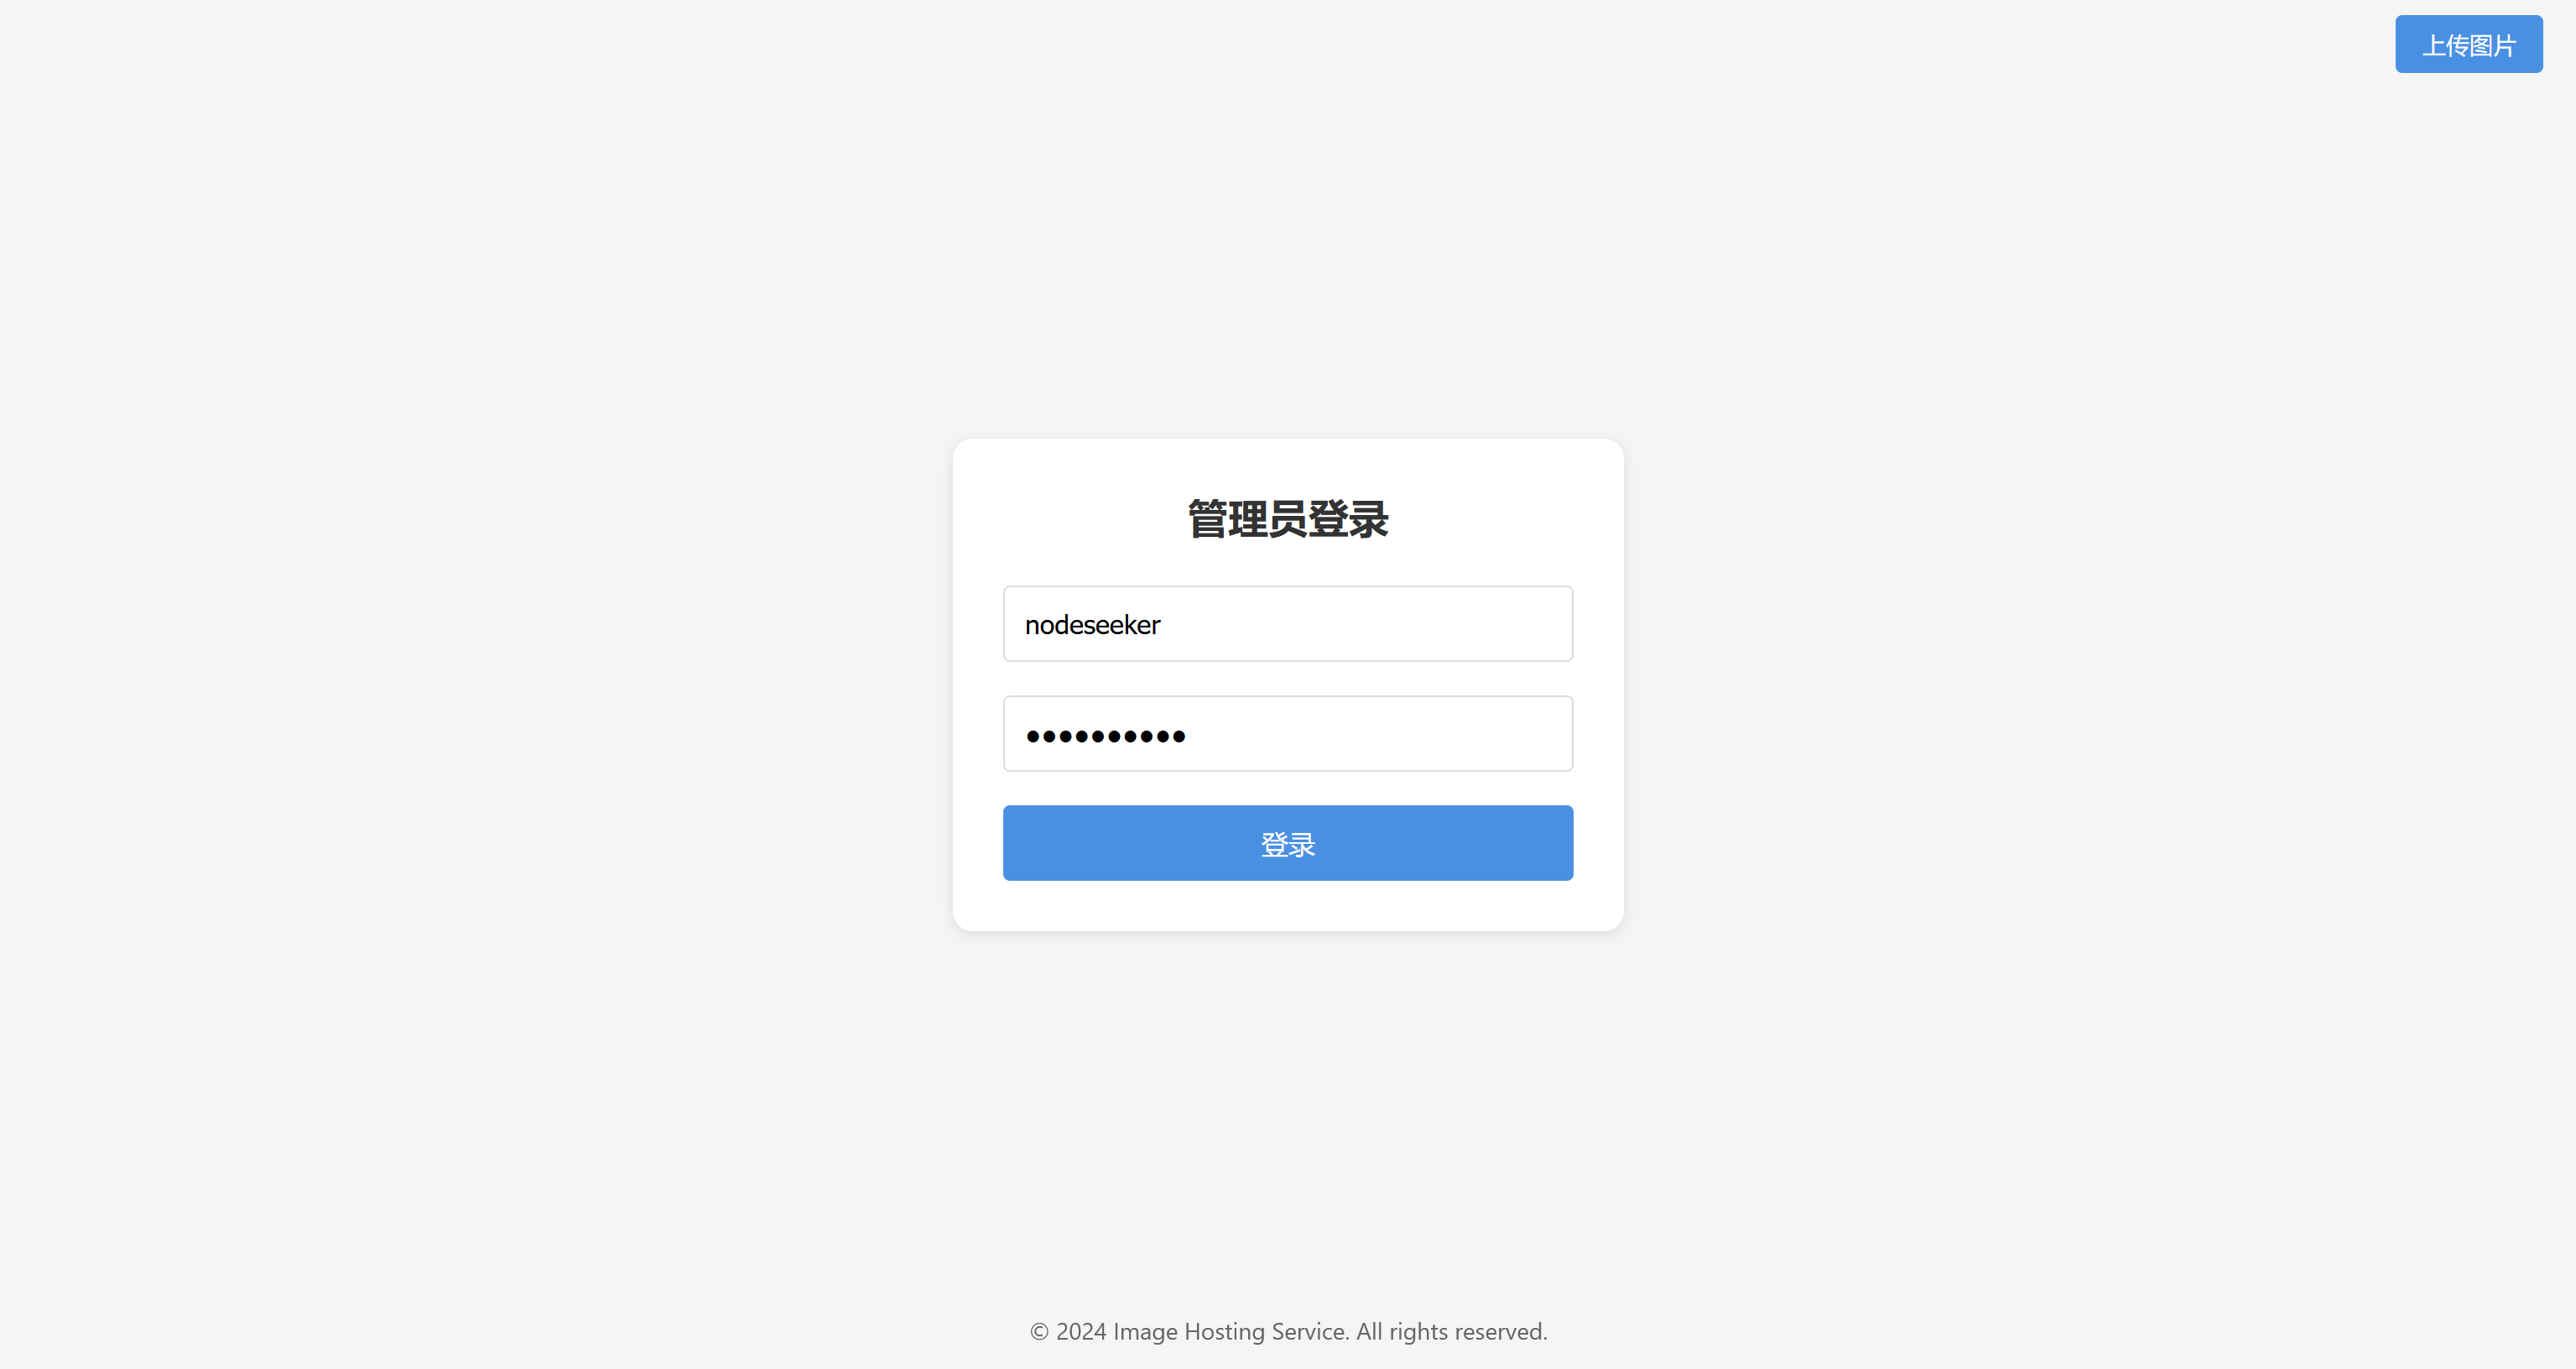
登录页面,输入用户名和密码登录。

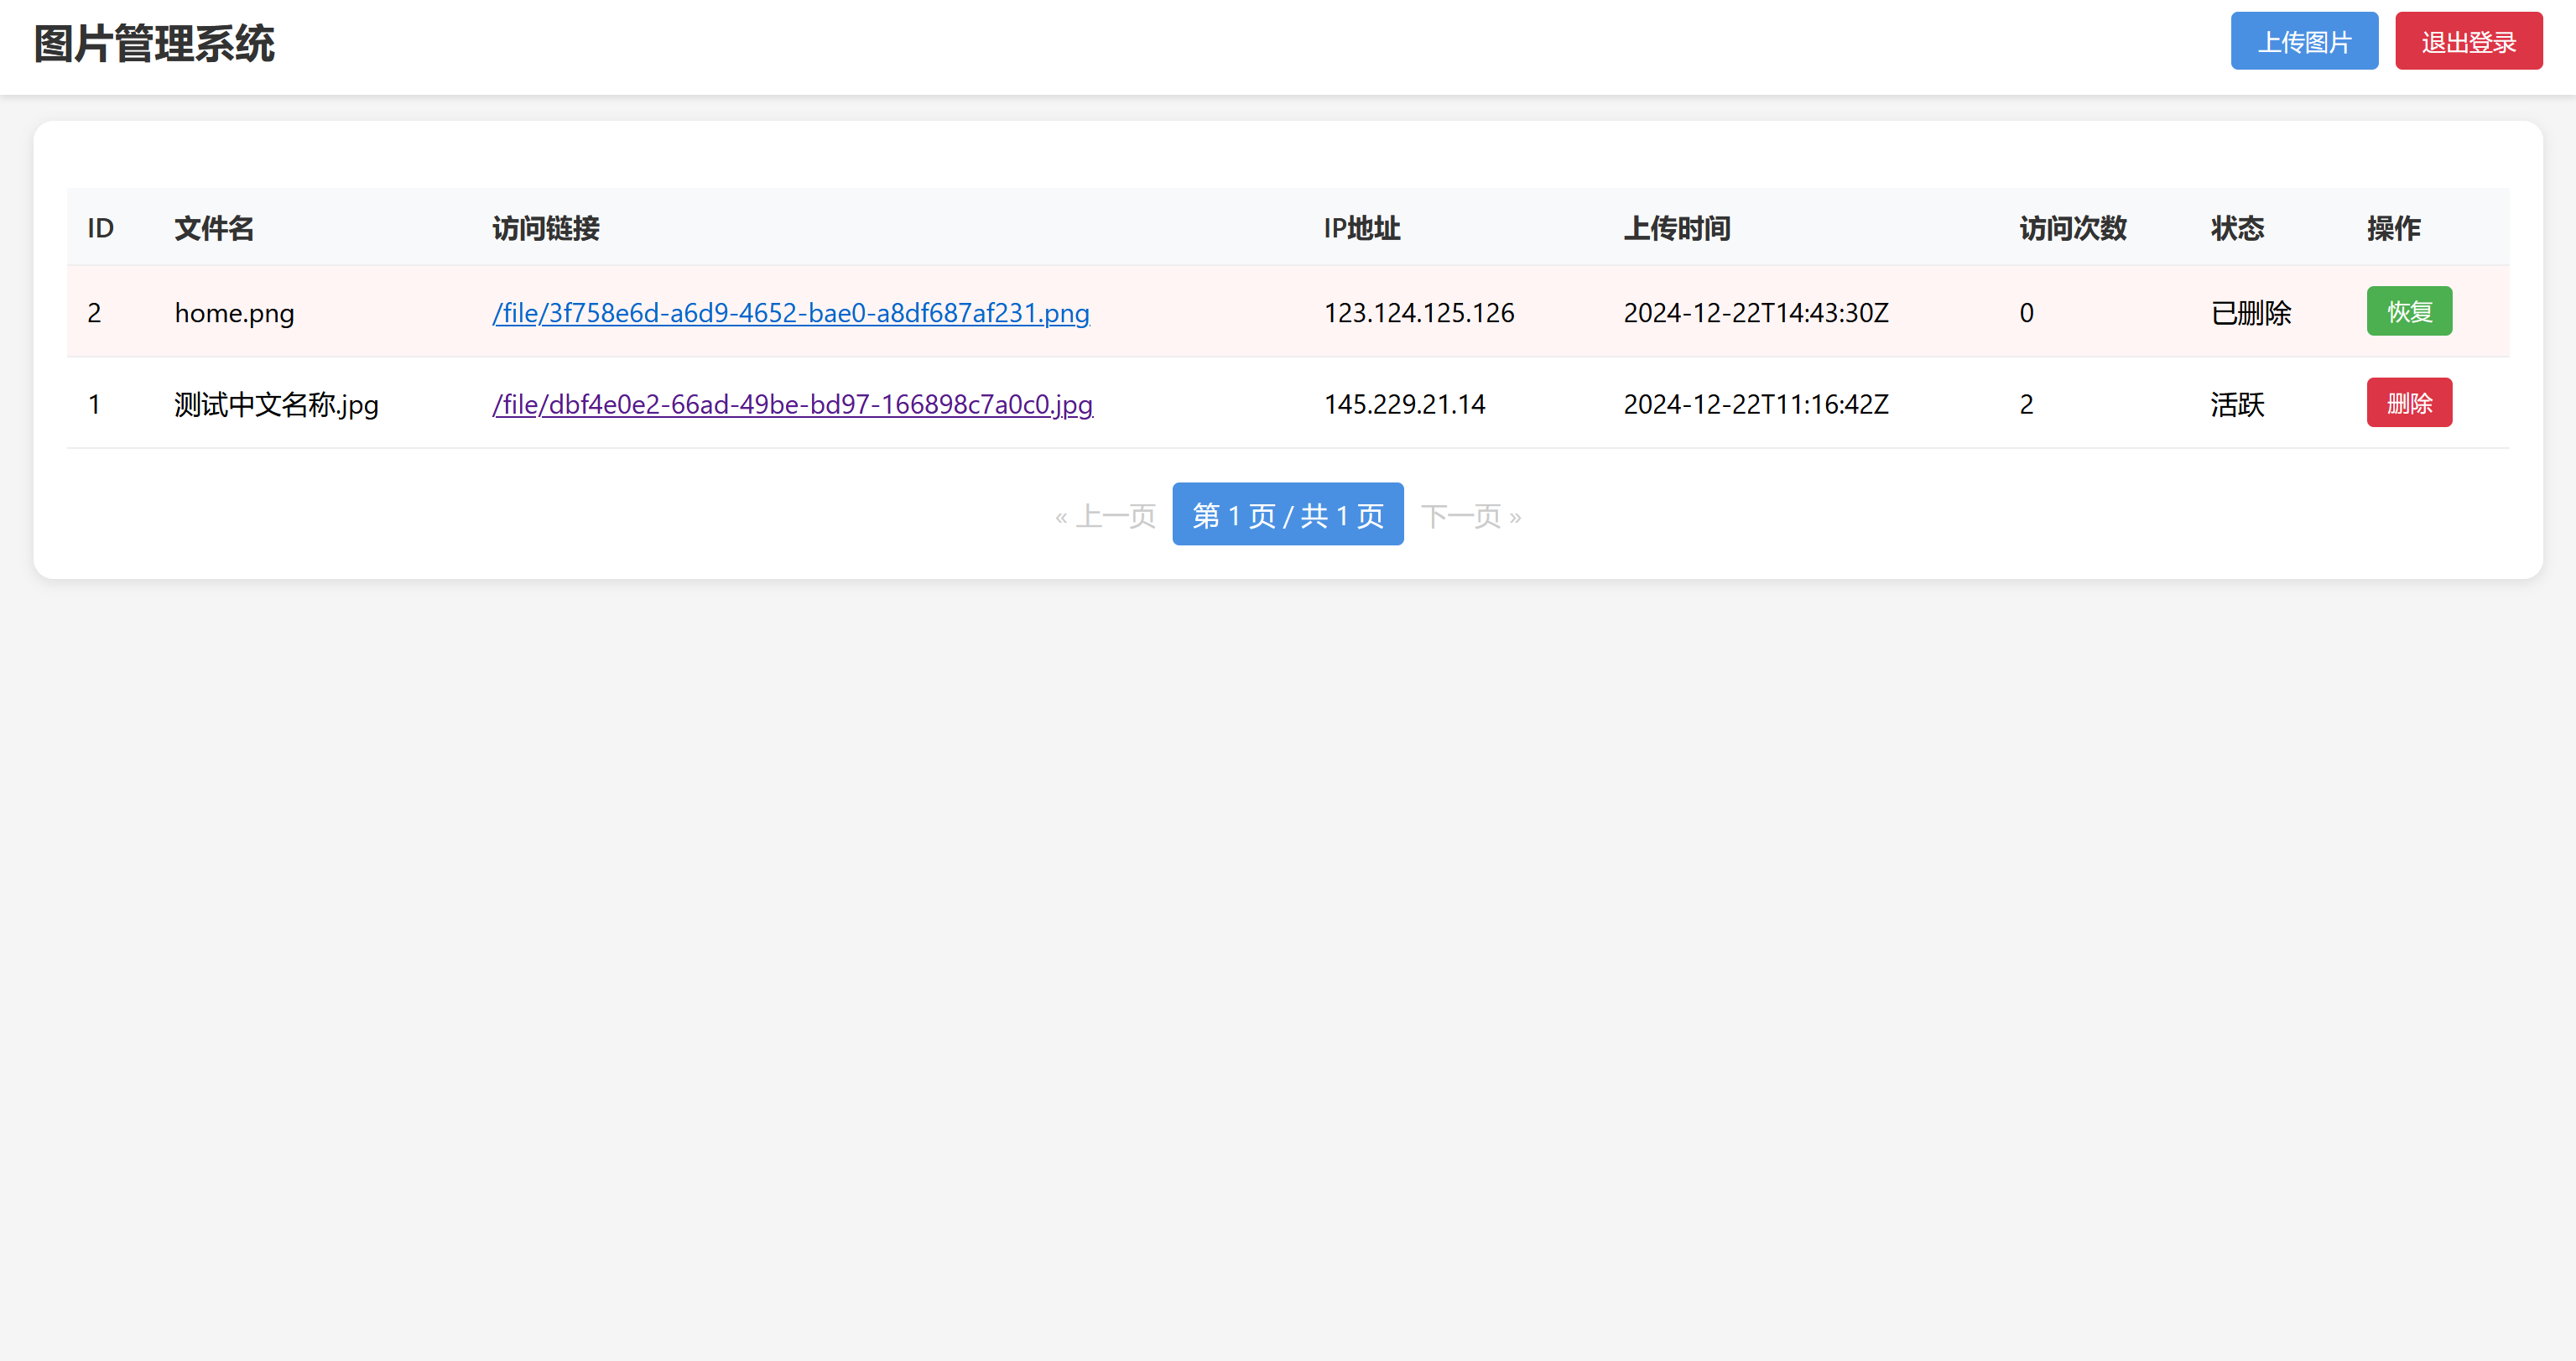
管理页面,查看访问统计和删除图片。注意:删除操作为禁止访问图片,数据依旧存留在telegram频道中。

### 前置准备
1. Telegram 准备工作:
- 创建 Telegram Bot(通过 @BotFather)
- 记录获取的 Bot Token
- 创建一个频道用于存储图片
- 将 Bot 添加为频道管理员
- 获取频道的 Chat ID(可通过 @getidsbot 获取)
2. 系统要求:
- 使用 Systemd 的 Linux 系统
- 已安装并配置 Nginx
- 域名已配置 SSL 证书(必需)
### 安装步骤
1. 创建服务目录:
```bash
sudo mkdir -p /opt/imagehosting
cd /opt/imagehosting
```
1. 下载并解压程序:
从 (https://github.com/nodeseeker/goImage/releases) 下载最新版本并解压到 `/opt/imagehosting` 目录。
```bash
unzip goImage.zip
```
解压后的目录结构:
```
/opt/imagehosting/imagehosting # 程序文件
/opt/imagehosting/config.json # 配置文件
/opt/imagehosting/static/favicon.ico # 网站图标
/opt/imagehosting/static/robots.txt # 爬虫协议
/opt/imagehosting/templates/home.html # 首页模板
/opt/imagehosting/templates/login.html # 登录模板
/opt/imagehosting/templates/upload.html # 上传模板
/opt/imagehosting/templates/admin.html # 管理模板
```
1. 设置权限:
```bash
sudo chown -R root:root /opt/imagehosting
sudo chmod 755 /opt/imagehosting/imagehosting
```
### 配置说明
#### 1. 程序配置文件
编辑 `/opt/imagehosting/config.json`,示例如下:
```json
{
"telegram": {
"token": "1234567890:ABCDEFG_ab1-asdfghjkl12345",
"chatId": -123456789
},
"admin": {
"username": "nodeseeker",
"password": "nodeseeker@123456"
},
"site": {
"name": "NodeSeek",
"maxFileSize": 10,
"port": 18080,
"host": "127.0.0.1"
}
}
```
详细的说明如下:
- `telegram.token`:电报机器人的Bot Token
- `telegram.chatId`:频道的Chat ID
- `admin.username`:网站管理员用户名
- `admin.password`:网站管理员密码
- `site.name`:网站名称
- `site.maxFileSize`:最大上传文件大小(单位:MB),建议10MB
- `site.port`:服务端口,默认18080
- `site.host`:服务监听地址,默认127.0.0.0本地监听;如果需要调试或外网访问,可修改为0.0.0.0
#### 2. Systemd 服务配置
创建服务文件:
```bash
sudo vim /etc/systemd/system/imagehosting.service
```
服务文件内容:
```ini
Description=Image Hosting Service
After=network.target
StartLimitIntervalSec=0
Type=simple
Restart=always
RestartSec=5
User=root
WorkingDirectory=/opt/imagehosting
ExecStart=/opt/imagehosting/imagehosting
WantedBy=multi-user.target
```
#### 3. Nginx 配置
在你的网站配置文件中添加:
```nginx
server {
listen 443 ssl;
server_name your-domain.com; # 填写你的域名
# SSL 配置部分
ssl_certificate /path/to/cert.pem; # 填写你的 SSL 证书路径,以实际为准
ssl_certificate_key /path/to/key.pem; # 填写你的 SSL 证书密钥路径,以实际为准
location / {
proxy_pass http://127.0.0.1:18080;
proxy_set_header Host $host;
proxy_set_header X-Real-IP $remote_addr;
proxy_set_header X-Forwarded-For $proxy_add_x_forwarded_for;
proxy_set_header X-Forwarded-Proto $scheme;
client_max_body_size 50m; # 限制上传文件大小,必须大于程序配置的最大文件大小
}
}
```
### 启动和维护
1. 启动服务:
```bash
sudo systemctl daemon-reload # 重新加载配置,仅首次安装时执行
sudo systemctl enable imagehosting # 设置开机自启
sudo systemctl start imagehosting # 启动服务
sudo systemctl restart imagehosting # 重启服务
sudo systemctl status imagehosting # 查看服务状态
sudo systemctl stop imagehosting # 停止服务
```
1. 检查日志:
```bash
sudo journalctl -u imagehosting -f # 查看服务日志
```
### 常见问题
1. 上传失败:
- 检查 Bot Token 是否正确
- 确认 Bot 是否具有频道管理员权限
- 验证 SSL 证书是否正确配置
2. 无法访问管理界面:
- 确认配置文件中的管理员账号密码正确
- 检查服务是否正常运行
- 查看服务日志排查问题
3. 上传文件大小限制:
- 修改 Nginx 配置中的 `client_max_body_size` 参数
- 修改程序配置文件中的 `site.maxFileSize` 参数
4. 已知bug:
- 登录时,输入错误的用户名或密码将提示`Invalid credentials`,需要在新标签页再次打开登录页面.直接在原先标签页刷新,将一直报错`Invalid credentials`。
页:
[1]